DIY Egress Window Installation: The Step-by-Step Process From Frame to Well
If you are weighing DIY egress window installation, here is the honest version of what the job involves, from cutting the foundation to setting the window well. This guide walks you through the DIY egress window steps so you can decide whether to do it yourself or hire a local installer. Some parts of this project are forgiving for a first-timer. Other parts, like cutting concrete and getting the drainage right, can flood a finished basement or stall a home sale if you get them wrong.
One note before the steps. If you are fixing this because a home inspector flagged your basement windows before closing, read the permit step carefully. A DIY job without a permit can become a bigger negotiation problem than the window itself.
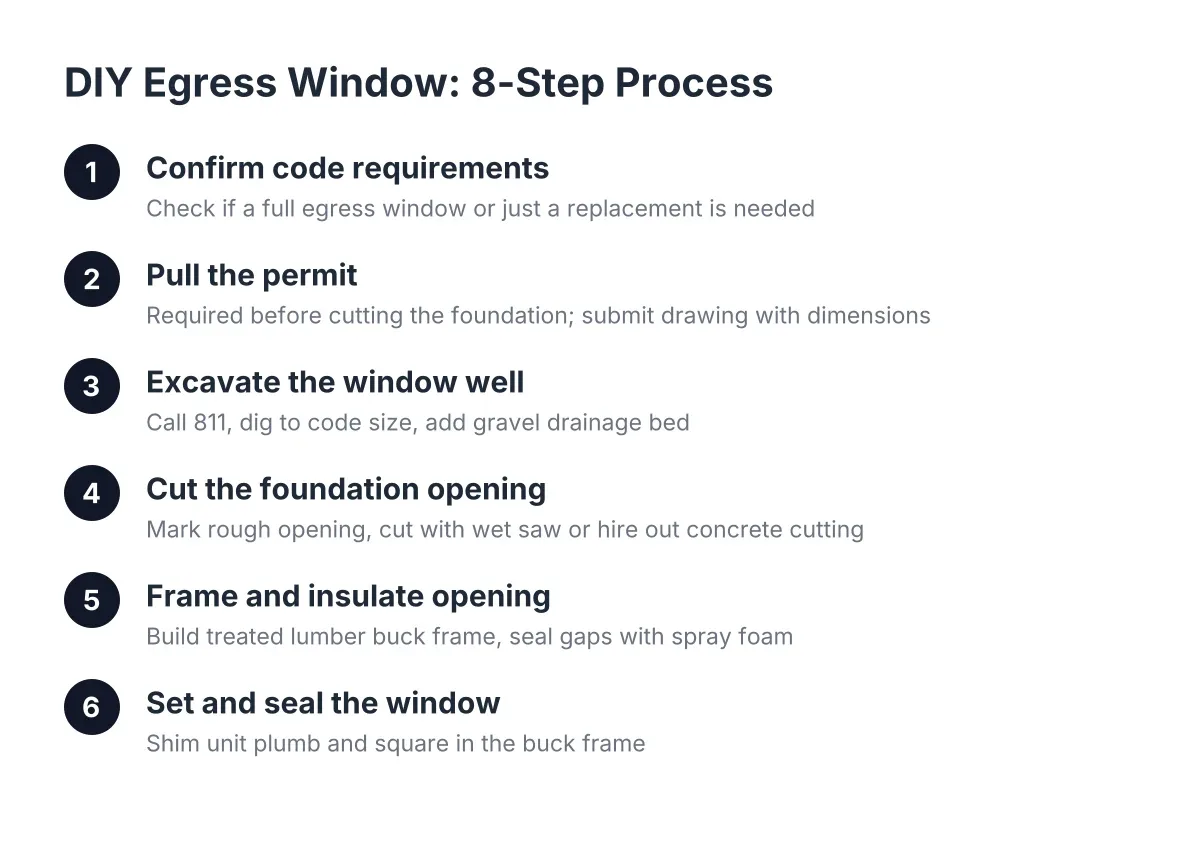
Step 1: Confirm What Code Actually Requires
Before you buy anything, figure out whether you need a full egress window or just a basement window replacement. The bedroom egress requirement only applies to sleeping rooms and, in most cases, finished basements used as living space. If your basement is unfinished storage, a smaller window or glass block may be fine.
For a true egress window, the sizes are specific. According to HomeAdvisor, IRC egress code requires a minimum net clear opening of 5.7 square feet, plus a window well that projects at least 36 inches from the house with a nine-square-foot footprint. Minneapolis follows its own adopted version of the code, so check with the city before you order a window in 2026; local amendments change details like well depth and ladder requirements.
This step matters most for the pre-sale homeowner. Suppose an inspector flagged a basement bedroom with a small block window. In that scenario, a simple repair will not clear the inspection item; the room needs a code-compliant egress window, which changes the scope and the timeline.
Step 2: Pull the Permit Before You Cut Anything
Yes, you need a permit for this. You are cutting a structural opening in your foundation, and Minneapolis requires a permit and inspections for that work. Skipping it is the single biggest DIY egress window risk when a sale is pending. A buyer's attorney or a title company can ask for permit records, and unpermitted foundation work gives the buyer leverage to renegotiate.
Pulling your own permit as a homeowner is allowed in most cases. Plan on submitting a simple drawing showing the window size, location, header detail, and well dimensions. Build the review time into your schedule; if your closing date is fixed, this is often the step that decides whether DIY is realistic at all.
Step 3: Excavate for the Window Well
Dig before you cut. The hole outside has to meet the code size requirements for the well before the foundation gets touched, and digging first tells you what you are dealing with: soil type, buried utilities, and how the ground drains.
Call 811 to have utilities marked. Then dig a hole about six inches wider than the well on each side and deep enough to sit below the finished window sill, plus room for a gravel drainage bed at the bottom. In Minneapolis clay, that is real shovel work. Expect several hours of digging by hand, or rent a small excavator if access allows.
Grade matters here. The bottom of the well needs gravel and, ideally, a drain tied to your foundation drainage so the well does not fill up in a spring thaw. A well that holds water will push it straight at your new window.
Step 4: Cutting the Foundation Opening for Your DIY Egress Window
This is the step that separates DIY egress window installation from an ordinary weekend project. You will mark the rough opening on the wall, then cut it with a rented wet saw or hire out just the concrete cutting. The cut goes deeper more often than wider; most basement windows sit high on the wall, so you are usually extending the opening down toward the floor.
A few things experienced installers know that first-timers learn the hard way:
- Rough openings never match the window perfectly out of the box. Trimming block to fit is normal, as long as the area is not load-bearing or gets a proper header if it is.
- A wet saw throws slurry everywhere. Sheet off the basement side and plan for cleanup.
- If the opening sits under a beam pocket or point load, stop and get an engineer or contractor involved. That is not a judgment call to make from a video tutorial.
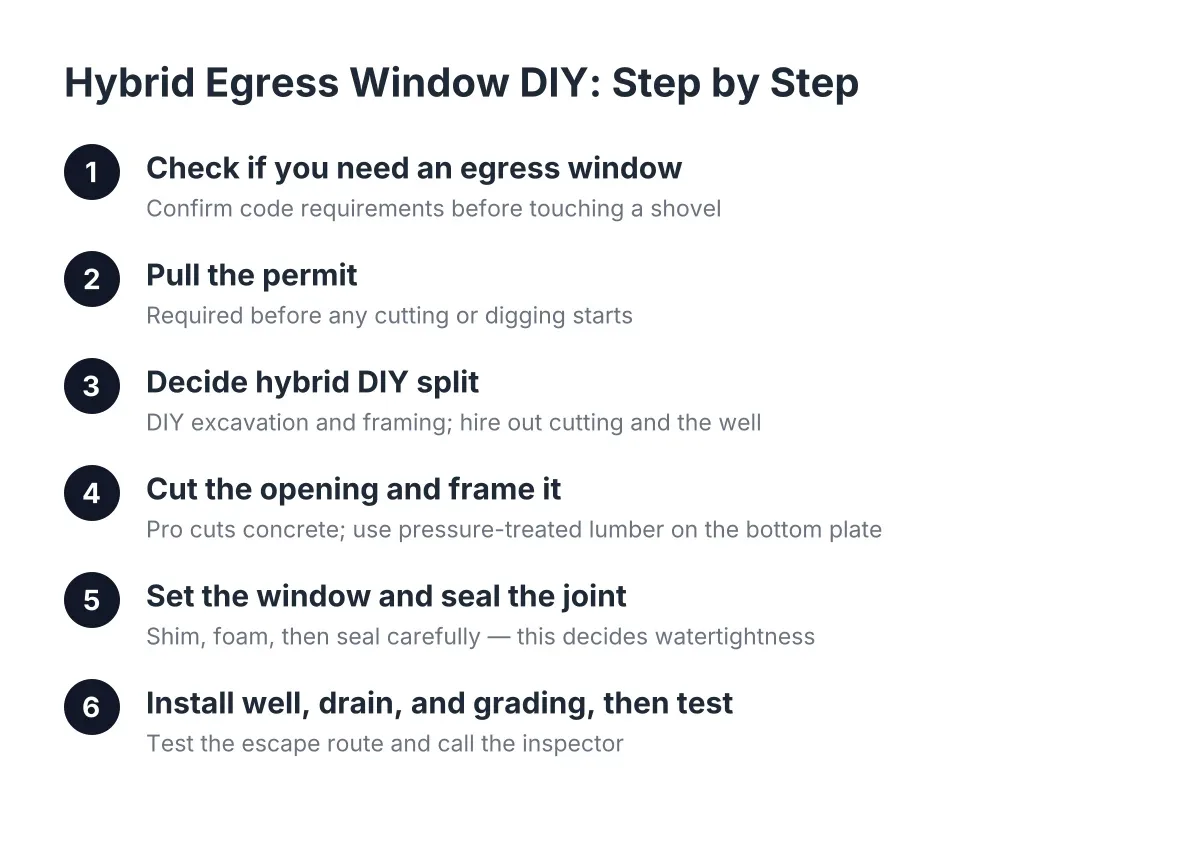
Concrete cutting is loud, heavy, and unforgiving. If any single step convinces homeowners to hire out, it is this one, and plenty of people split the job: pro for the cut, DIY for the rest.
Step 5: Frame and Insulate the Opening
Next, build a treated lumber buck frame inside the cut opening. Pressure-treated wood matters wherever lumber touches concrete; according to This Old House, bottom plates against concrete must be pressure-treated for exactly this reason, and the same logic applies to your window buck.
A better practice is setting the frame on a mortar bed rather than bare block. The mortar seals the base and lets you slope the sill slightly outward so water sheds away from the window instead of pooling under it. It takes an extra hour. It is worth it.
Anchor the frame to the concrete with masonry screws, check it for level and square, then seal the gap between wood and concrete with spray foam. This joint is where wood, concrete, and vinyl all meet, and each material moves differently with temperature. Long-term watertightness depends on the sealant at this joint doing its job for years, which is why sloppy foam and caulk work is the most common DIY failure point.
Step 6: Set and Seal the Window
Now the satisfying part. Set the window unit in the buck frame, shim it plumb and square, and fasten it per the manufacturer's instructions. Check that the sash opens fully and smoothly before you seal anything; an egress window that binds is a code failure, not a cosmetic issue.
Seal the exterior joint between the window frame and the masonry with a high-quality sealant rated for the joint before any finish work like stucco or trim goes on. Inside, foam and caulk the perimeter. One honest upside for a nervous first-timer: basement window installation is a forgiving place to learn finish carpentry. Imperfect trim work is rarely visible down there. The only requirement that matters is that water stays out.
Step 7: Install the Window Well and Grade for Drainage
Set the well, galvanized steel or composite, against the foundation and bolt it to the concrete with masonry anchors. Center it on the window and confirm it meets the 36-inch projection requirement. If the well is deeper than 44 inches, code requires a permanent ladder or steps inside it.
Backfill around the outside of the well with gravel first, then soil, and grade the surrounding ground so surface water runs away from the house. Skip this and the well becomes a bathtub. Window well installation done wrong is the reason so many homeowners call about water in a finished basement a year after the window went in.
Step 8: Test the Escape Route and Close Out the Permit
Open the window from inside, climb into the well, and get out of it. That full test is the whole point of an egress window, and it catches problems a visual check misses, like a sash that needs two hands to open or a well ladder set too far from the window. Then schedule your final inspection so the permit closes with a paper trail. For a pre-sale fix, that signed-off permit is the document that ends the conversation with the buyer.
Should You Attempt DIY Egress Window Installation or Hire It Out?
DIY egress window installation makes sense for a homeowner with concrete-cutting access, framing experience, a flexible timeline, and a permit in hand. It is a poor fit when a closing date is fixed, the opening is structural, or drainage is uncertain. The savings are real, but so is the downside of getting the cut or the waterproofing wrong.
On cost, the gap is the main draw. According to Angi, professional egress window installation averages $4,244 nationwide, with most homeowners spending between $2,723 and $5,898 per window. Doing the labor yourself trims that meaningfully, though tool rental, the window unit, the well, gravel, and permit fees add up. If you are budgeting a larger project, this window is usually one line inside a bigger basement renovation cost, and it is the line building officials care about most when a finished basement adds a bedroom.
Here is a fair way to decide:
- Fixed closing date within six weeks: hire a local installer and get the permit handled for you.
- Structural questions at the opening: hire out, or at minimum pay for the concrete cut and an engineer's look.
- Unfinished basement, flexible timeline, some framing experience: DIY is realistic if you respect the drainage work.
- Somewhere in between: split it. Pro cut and well installation, DIY framing, window setting, and trim.
Whatever you choose, get a written quote or two first, even if you plan to DIY. A real quote from a local installer tells you exactly what you are saving, and for a pre-sale fix it gives you a documented number for the negotiation instead of a guess.
If you need basement egress window installation, Minneapolis Window Pros can help.
Prefer to talk it through? Call (612) 482-9787 — a quick call is usually the fastest way to get a straight answer for your situation.