Window Well Installation in a Finished Basement: Protecting Walls and Flooring
Window well installation in a finished basement is a different job than the same work in an unfinished one. A window well finished basement setup demands careful attention because the stakes are higher. If water gets past the well, it does not hit bare concrete; it hits drywall, carpet, and trim you already paid for. This guide walks through the process step by step, with the details that matter in Minneapolis: clay-heavy soil, deep frost, and spring melt that finds every gap in a bad install. A finished basement window well demands more attention to detail than the standard install, because the cost of failure—mold, drywall damage, flooring replacement—is measured in thousands, not the price of concrete sealer.
If you are the type who watches a few videos and wonders whether this is a weekend project, this guide will show you exactly where the job gets hard. Most of the work is not the window. It is the digging, the drainage, and the sealing. Get those wrong and the finished side of the wall pays for it.
Why Window Well Installation Around a Finished Basement Demands More Care
A finished basement changes the risk math. In an unfinished basement, a small leak shows up as a damp spot on concrete. You see it, you fix it, no harm done. In a finished basement, that same leak runs behind drywall and under flooring before you ever notice it. By the time you smell mold, the damage is weeks old.
Minneapolis adds its own complications. Frost here can drive four feet or more into the ground. When wet soil around a window well freezes, it expands and pushes on the well walls. A well that was backfilled with native clay instead of gravel will shift, bow, or pull away from the foundation over a few winters. Once the seal between the well flange and the concrete opens up, water has a direct path to the window frame, and from there to your finished wall.
Therefore, treat this as a drainage project first and a window project second. Every step below is built around one goal: keep water out of the well, and give any water that does get in a way to leave.
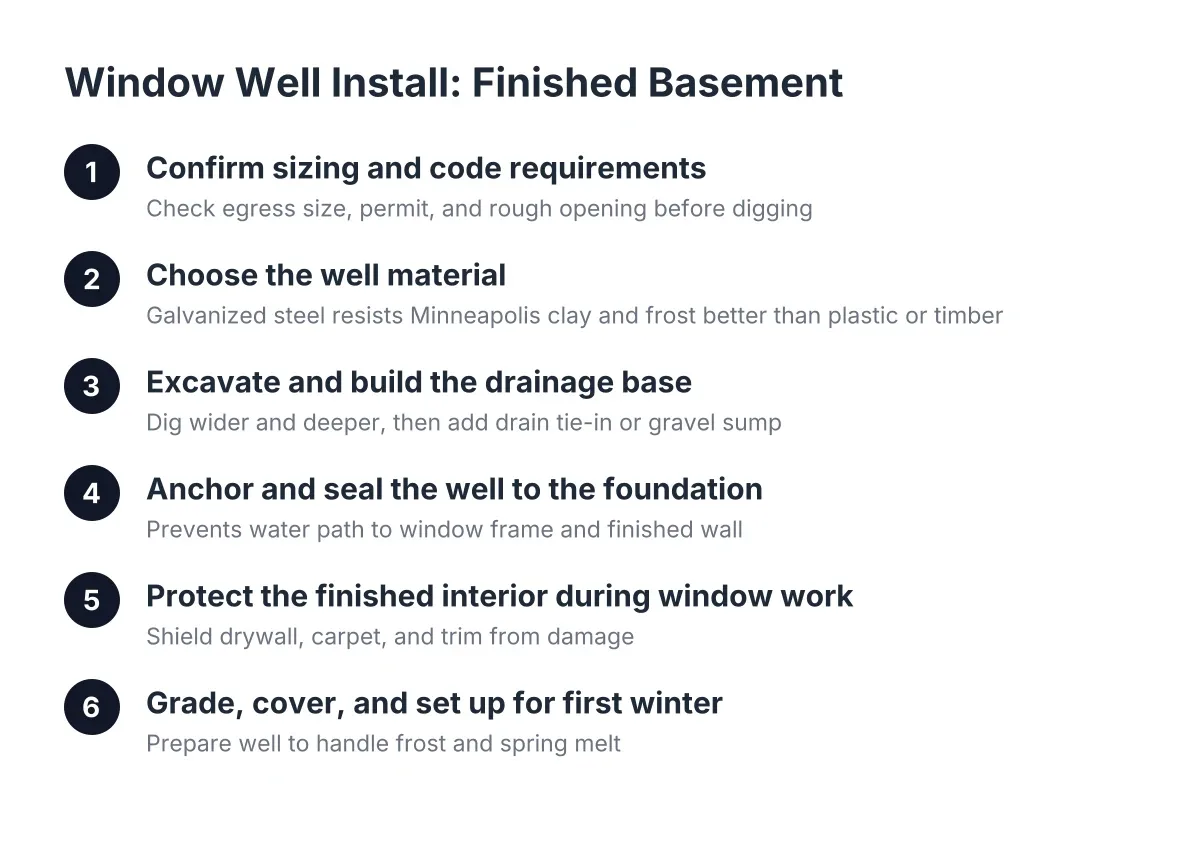
Step 1: Confirm Sizing and Code Requirements Before You Dig
Start with the numbers, because the well size is not a style choice. If the window serves a bedroom, it has to meet the bedroom egress requirement, and the well has to be big enough for a person to climb out. According to HomeAdvisor, IRC egress code requires a well that projects at least 36 inches from the house with a nine square foot footprint, and the window needs a minimum net clear opening of 5.7 square feet.
A basement window well egress setup also needs a ladder or steps if the well is deeper than 44 inches, which is common in Minneapolis given how deep basements sit. Check with Minneapolis permitting before you start; egress work in 2026 still typically requires a permit and an inspection, and an unpermitted install can come back on you at resale. This is one of the DIY traps: the hardware store does not check your opening size or your permit status. The inspector will.
Measure your rough opening, note the window swing (a casement that cranks outward needs clearance inside the well), and confirm the finished well depth before you buy anything.
Step 2: Choose the Well Material for Minneapolis Soil and Frost
Galvanized steel is the workhorse here, and for good reason. When people compare corrugated vs galvanized window wells, they are usually comparing plastic or composite wells against corrugated galvanized steel. In Minneapolis clay, that comparison tilts hard toward steel.
- Galvanized egress window wells resist the lateral push of frozen, expanding clay. The corrugation adds stiffness, and the zinc coating holds off rust for decades.
- Plastic and composite wells cost less up front but can crack or deform under frost pressure, especially on the north side of a house where the ground stays frozen longest.
- Timber wells look good in photos but rot in constant soil contact and are harder to seal against the foundation.
For a finished basement, the well material is cheap insurance. A cracked well that lets soil and water slump against the window is a leak waiting for the spring melt. Spend the extra on a galvanized egress window well sized with at least six inches of clearance beyond the window frame on each side.
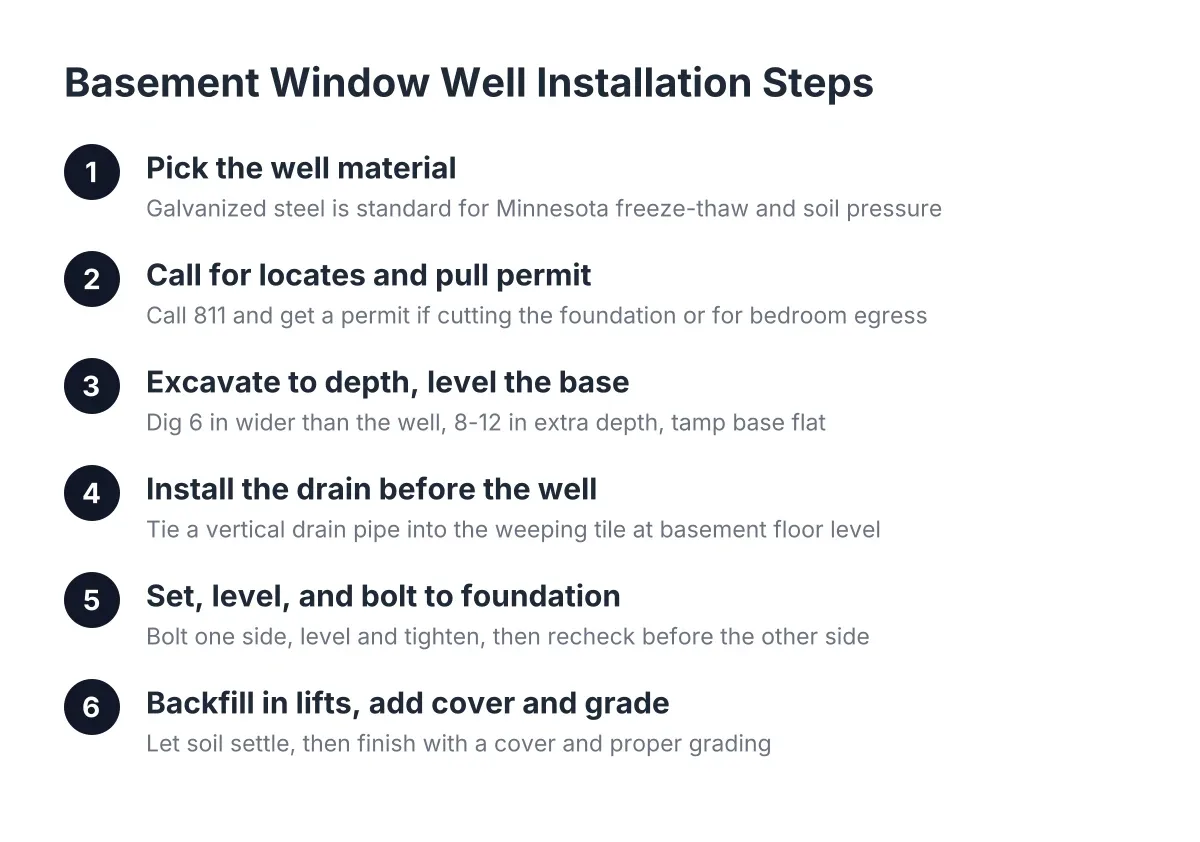
Step 3: Excavate and Build the Drainage Base
Dig the hole about a foot wider than the well on all sides and 8 to 12 inches deeper than the planned well bottom. Keep the base level and stable; the well and its drainage layer need even support, or the well will settle and stress its anchor points.
Drainage is where Minneapolis soil bites DIYers. Our clay does not drain. Water that enters the well sits there unless you give it somewhere to go. You have two options:
- Tie the well bottom into the home's drain tile system with a vertical drain pipe, if the house has one and it is reachable. This is the gold standard for egress window drainage.
- Build a gravel sump: landscaping cloth at the base, then 8 to 12 inches of washed gravel below the well bottom, so water percolates down instead of pooling at the window sill.
However, know the limit of option two. In heavy clay, a gravel sump can fill during a hard rain because the surrounding soil will not absorb the overflow. If no drain connection exists, plan on a solid cover over the well so water never collects in the first place. This is exactly the kind of judgment call where a local installer earns their fee; a regional contractor running the same spec in sandy suburbs and Minneapolis clay will get one of those two houses wrong.
One practical note during the gravel pour: cover the window with plywood first. A dropped scoop of river rock cracks glass fast.
Step 4: Anchor and Seal the Well to the Foundation
Before the well goes up, scrape the foundation wall clean. Dirt clumps left on the concrete keep the well flange from sitting flush, and every gap behind the flange is a channel for groundwater. Set the well on its gravel base, check that the top sits about 4 inches above the finished grade, and bolt the flanges to the concrete with masonry anchors.
Next comes the step that protects your finished walls more than any other: run a continuous bead of polyurethane sealant along both flange edges, bottom to top, where the well meets the house. Not silicone, not a few dabs. A full, unbroken bead. This seal is what stops groundwater from tracking behind the well and finding the window frame. It is also the step rushed crews and weekend installs skip, and it is why some wells leak in year two.
Backfill outside the well with gravel, not the clay you dug out. Gravel drains and does not expand against the steel when it freezes. Finish the backfill with a few inches of soil graded away from the house so surface water runs off, not in.
Step 5: Protect the Finished Interior During the Window Work
If the window itself is being replaced or a new egress window is being cut in, the interior side of a finished basement needs its own plan. Concrete cutting throws fine dust that travels through a house. Seal off the work area with plastic sheeting, cover flooring back to the nearest doorway, and pull baseboard and trim near the opening rather than trying to cut around it.
Framing around the new window follows standard basement wall practice. Any lumber that touches the concrete slab or sill must be pressure-treated; according to This Old House, the bottom plate must be pressure-treated because it contacts concrete, while the top plate can be standard lumber. If you are reworking the surrounding wall, studs run 16 inches on center so drywall seams land on framing.
For example, suppose a homeowner in south Minneapolis is finishing a basement bedroom and needs an egress window where a small hopper window sits now. The interior wall is already drywalled. In that scenario, the smart sequence is to open the interior wall around the window first, do the exterior well and cutting work, then patch the drywall last. Reversing that order means patching twice.
Step 6: Grade, Cover, and Set Up for the First Winter
Final grading decides whether the well stays dry. Slope the soil away from the house on all sides of the well for at least the first few feet. A well that sits in a low spot collects roof runoff and snowmelt no matter how good the drainage base is.
Add a cover. A frosted polycarbonate cover over a grate lets daylight into the basement while keeping out snow, leaves, rain, and pets. Run a bead of caulk around the cover's edge where it meets the well and the house. In a Minneapolis winter, an uncovered well fills with snow, and that snow melts against your window in March. If the well has no drain connection, a solid cover is not optional; it is the drainage plan.
Before the first freeze, check the well once more: gravel base clear of soil washout, sealant bead unbroken, cover seated, grade still sloping away.
DIY or Hire It Out: Where a Finished Basement Window Well Install Gets Hard
The honest answer for a handy homeowner: replacing an existing well above grade is a reasonable DIY project. Basement window work is forgiving in one way; imperfect finish carpentry rarely shows, and the only requirement that matters is that water stays out. Swapping a rusted well for a new galvanized one, resealing the flange, and rebuilding the gravel base is a hard weekend, not a specialist job.
The line moves when the job involves cutting concrete, enlarging an opening for egress, tying into drain tile, or working beside a finished interior wall. A wrong cut in a foundation, a missed drain connection, or a failed inspection on a bedroom egress window costs far more to fix than the labor you saved. For scale, egress window installation averages $4,244 nationwide according to Angi, and window well replacement on its own averages $2,200 according to HomeAdvisor; the gap between those numbers is mostly the concrete cutting and code work.
If your project sits on the hard side of that line, get a quote and compare it against your realistic DIY materials list plus a rental concrete saw, a dumpster, and your weekends. In Minneapolis, ask any installer specific questions: how they handle frost heave backfill, whether they connect wells to drain tile, and what sealant they run at the flange. The answers tell you quickly whether they know local soil or just quote from a script.
If you need basement egress window installation, Minneapolis Window Pros can help.
Prefer to talk it through? Call (612) 482-9787 — a quick call is usually the fastest way to get a straight answer for your situation.