Basement Window Leak Repair: When to Patch and When to Replace the Window
Water is coming in around your basement window and you need to know one thing fast: is this a patch job or a full replacement? This guide walks you through basement window leak repair step by step, from stopping the water right now to deciding whether a tube of sealant fixes it or whether the window and well need to come out. When you're facing the choice between patch vs replace window, most leaks fall clearly on one side of that line once you know what to look for.
Here is the short version. If the frame is solid, the glass is intact, and water is entering through a gap or a flooded well, you can likely handle it yourself this weekend. If the frame is rotted or rusted, the glass block is cracked, or the opening itself has failed, a patch buys you months, not years. The steps below tell you which situation you have.
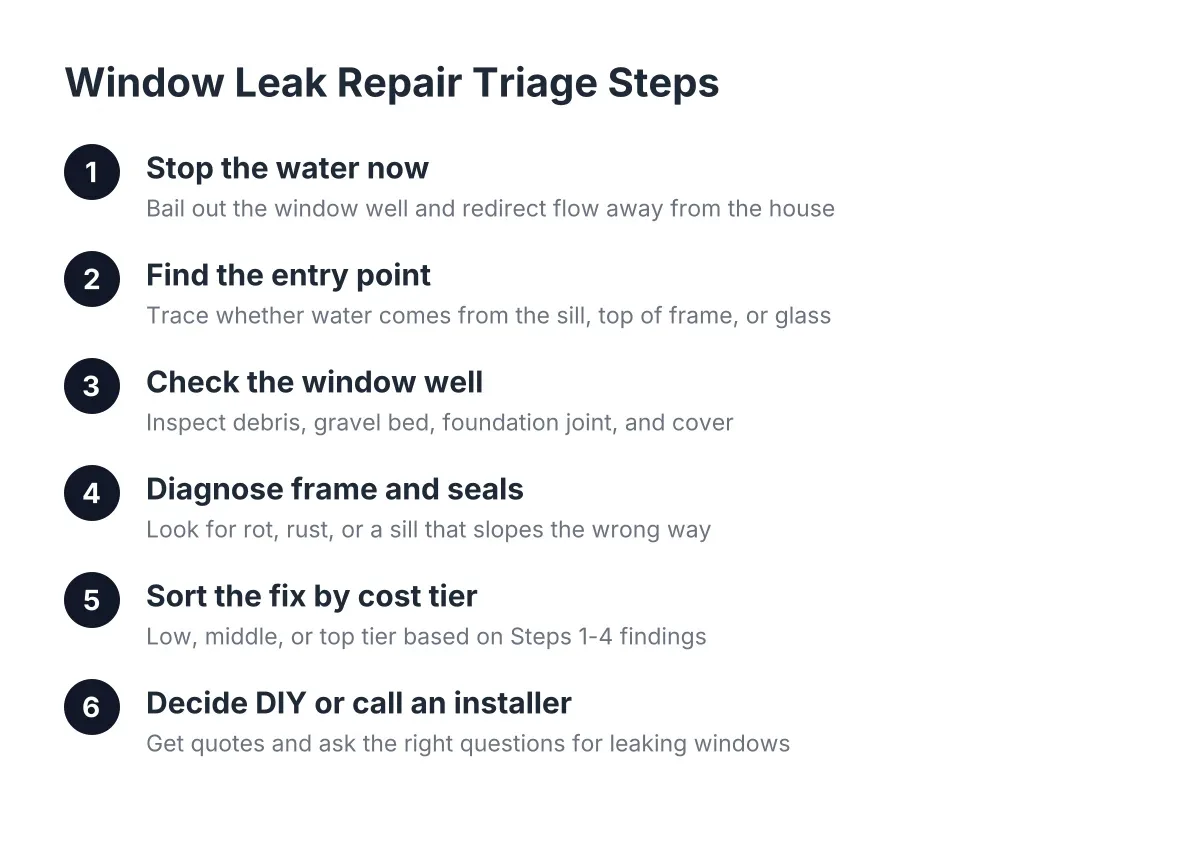
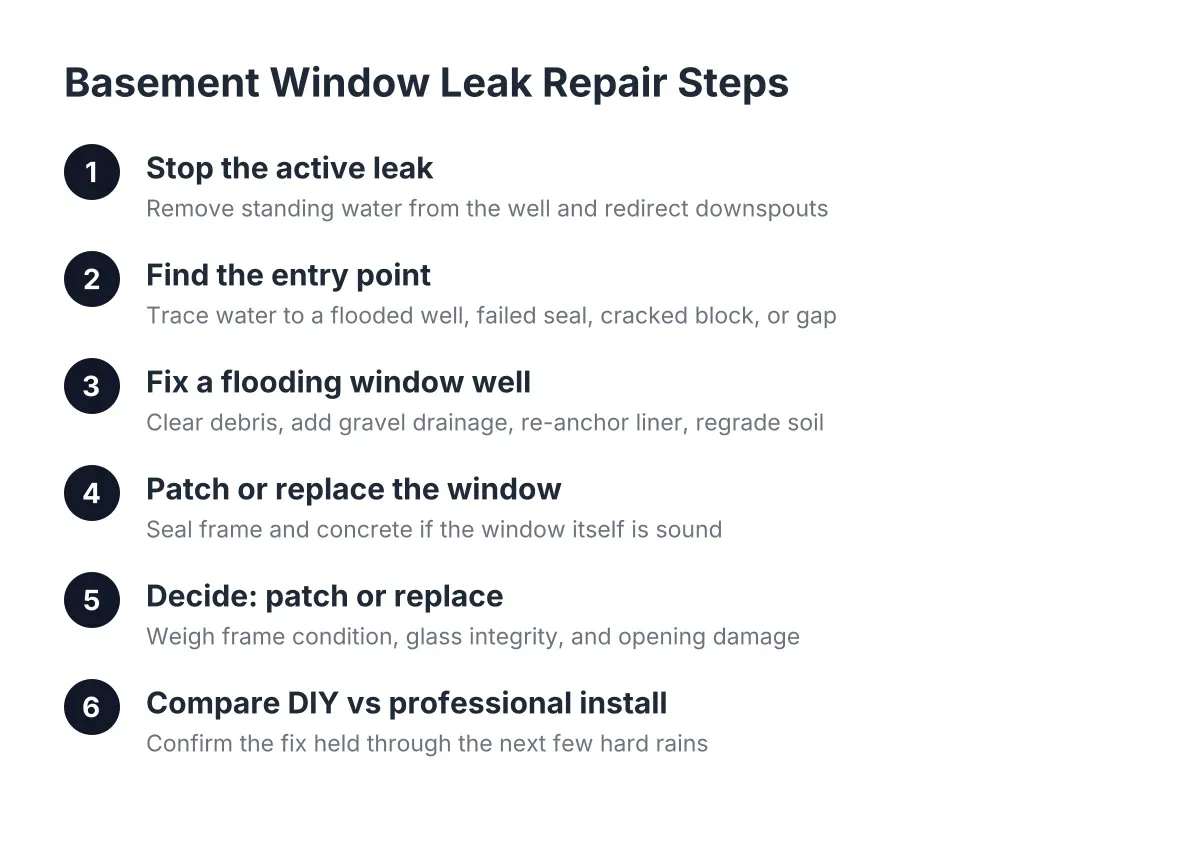
Step 1: Stop the Water That Is Coming In Now
First, deal with the active leak before you diagnose anything. If water is pooling in the window well and pushing through the window, get it out of the well. Use a bucket, a wet/dry vac, or a small utility pump dropped into the well from outside.
Inside, move anything that can absorb water away from the wall. Towels at the base of the window will slow the spread while you work outside. If water is coming in fast during heavy rain, check whether a downspout nearby is dumping water straight toward the well. Redirecting a downspout with a ten-foot extension is often the single fastest emergency fix.
Do not caulk anything while it is wet. Sealant applied to a wet, dirty surface fails within weeks, and you will be back to square one.
Step 2: Find Where the Water Is Actually Entering
Next, figure out the entry point, because it decides everything that follows. Wait for the rain to stop, or run a garden hose slowly near the window and watch from inside. Basement window leaks almost always trace back to one of five sources:
- A flooded window well. Water fills the well faster than it drains, then pours over or through the window. This is the most common cause in Minneapolis, especially during spring melt when the ground is still frozen.
- A failed seal between frame and foundation. You see a window leaking from the bottom or the sides, right where the frame meets the concrete.
- Cracked or foggy glass block. Old basement window blocks develop cracks in the mortar joints or the blocks themselves. Water follows the crack.
- A gap in the foundation concrete around the opening. The concrete itself has chipped or cracked at the corners of the rough opening.
- Surface grading. The soil outside slopes toward the house, so every rain sends water at the window instead of away from it.
Mark the entry point with a pencil or painter's tape. If you cannot find a single point and the whole frame weeps, that usually means the frame itself has failed. Hold that thought for Step 5.
Step 3: Fix a Flooding Window Well First
If the well fills with water, fix the well before you touch the window. A perfectly sealed window will still leak if it sits in a bathtub. Work through these in order:
- Clean out leaves, silt, and debris from the bottom of the well.
- Dig down 12 to 18 inches inside the well and check for a gravel drainage layer. If you hit packed clay, remove it and backfill with clean gravel so water can drain down instead of standing.
- Check that the well liner is attached tight to the foundation. A galvanized well that has pulled away from the wall lets soil and water pour in behind it. Re-anchor it or plan on a new well.
- Add a clear window well cover to keep rain and snowmelt out entirely.
- Regrade the soil around the well so the ground slopes away from the house for at least the first few feet.
Suppose a homeowner in South Minneapolis has a 1960s rambler with an original steel well that has rusted through at the base. In that scenario, cleaning and gravel help, but the well itself needs replacing. According to HomeAdvisor, window well replacement costs an average of $2,200, with most homeowners spending between $1,800 and $3,000. That figure is useful for comparing against a DIY well kit, which costs far less in materials but requires digging, anchoring to the foundation, and grading for drainage.
Step 4: Patch or Replace Window — Seal the Frame and Concrete if the Window Is Sound
If the window itself is in good shape and the water enters through a gap, this is the true patch scenario, and it is a reasonable DIY job. Here is how to seal a leaking basement window properly:
First, scrape out the old, failed caulk or mortar from the joint between the frame and the foundation. Wire-brush the concrete clean and let everything dry fully.
Then repair the concrete. Gaps or chips in the foundation around the opening can be filled with rapid-setting concrete or hydraulic cement, worked into the void and smoothed flush. Small basement window crack repair at the mortar joints of glass block works the same way: rake out the failed mortar, repack it, and tool it smooth. Many homeowners find that understanding when to patch versus replace windows saves both time and money on the back end.
Finally, seal the perimeter. Run a high quality exterior sealant around the sides and top of the window where the frame meets the concrete. This is the same weatherproofing step a pro does after any concrete repair, and it is what stops leaks during heavy rain from working through the joint. Knowing how to fix a leaking window frame at this level, clean, patch, seal, is well within reach for a handy homeowner.
Total cost for this fix is usually the price of a tube of sealant, a small bag of hydraulic cement, and an afternoon. If the leak stops and stays stopped through the next two or three hard rains, you are done.
Step 5: Deciding to Patch or Replace Your Basement Window
Patch when the frame and glass are sound. Replace when they are not. A basement window that keeps leaking after you have sealed it, drained the well, and fixed the grading is telling you the window itself has failed. Repeated patching at that point wastes money and, worse, lets water keep reaching the framing and slab.
Replace instead of patching when you see any of these:
- Wood frames that are soft, spongy, or visibly rotted
- Steel frames rusted through at the sill, especially a window leaking from the bottom no matter how many times you caulk it
- Cracked glass block units, not just failed mortar joints
- A frame that has shifted out of square, leaving gaps that reopen after every freeze-thaw cycle
- Fog or moisture trapped inside block windows, which means the units themselves have failed
Minneapolis freeze-thaw cycles are hard on old basement window blocks. Water gets into a hairline crack in fall, freezes, and widens the crack every winter. A patch on a cracked block is a one-season fix at best.
Replacement is also the moment to think about code compliance. If the basement is finished or you plan to finish it, a bedroom needs a code-compliant egress window, and the old block window opening will not meet the bedroom egress requirement. According to HomeAdvisor, IRC egress code requires a window well projecting at least 36 inches from the house with a nine-square-foot footprint, and a minimum net clear opening of 5.7 square feet. Cutting the foundation to enlarge an opening is the hardest and riskiest part of that job, since a bad cut compromises both the seal and the wall, so that phase belongs with a local installer even if you handle everything else yourself.
Step 6: Compare the DIY Path Against a Professional Install
For the budget comparer, here is the honest breakdown as of 2026. A straight basement window replacement in an existing opening is a forgiving DIY project. Order the new window slightly smaller than the rough opening in both length and height so you have room to shim it plumb and level. Correct leveling matters more than pretty trim; a tilted window invites air leaks and water intrusion later. In an unfinished basement, you can skip interior trim entirely, insulate and seal the unit, trim the spray foam, and call it done.
The math changes when the opening changes. According to Angi, egress window installation averages $4,244 nationwide, with most homeowners spending between $2,723 and $5,898 per window. Most of that cost is the concrete cutting, the well installation, and the drainage work, not the window itself. Those are also the steps where a mistake causes the exact water problem you started with, or fails inspection when you sell.
One honest limitation: if you see cracks in the foundation wall itself, not just around the window opening, or water enters at multiple points along the wall, stop and get a professional assessment. That pattern points to a drainage or structural issue that no amount of basement window leak repair will solve on its own.
Step 7: Confirm the Fix Held
Whichever route you took, verify it. After the next heavy rain, check the well for standing water and inspect the interior perimeter of the window for dampness. Run your hand along the bottom of the frame; it should be bone dry.
In addition, recheck the grading each spring. Soil settles, mulch migrates, and a slope that shed water last year can pool it this year. Five minutes with a rake protects the work you just did.
If the window passed two or three storms dry, your patch worked and you saved yourself a replacement. If it is damp again, you have your answer: the window or the well has reached the end of its life, and the next dollar you spend should go toward replacement, not another tube of caulk. Any Minneapolis installer worth calling should walk the opening with you, explain what failed, and give you a real quote up front, so you can compare that number against the DIY math with clear eyes.
If you need basement egress window installation, Minneapolis Window Pros can help.
Prefer to talk it through? Call (612) 482-9787 — a quick call is usually the fastest way to get a straight answer for your situation.